Showing posts with label Tutorial. Show all posts

Sunday

"A Lowly Manger" Ornament Tutorial

Well, we made our last ornament in my 1st grade Sunday School class today...

"A Lowly Manger"
(I was inspired by a post I saw on Casa Camacho.)
Here's the "stuff" you'll need to make the ornament:
Paper figures of Joseph, Mary, and Baby Jesus (from The Activity Village)
Construction paper
Crayons
Craft Glue
Popsicle sticks
Scissors
Yarn
Cut out and color Mary, Joseph, and the Baby Jesus.
Glue the paper figures onto the construction paper. Glue three popsicle sticks (one of the sticks needs to be cut in half so you have a total of four sticks) around the figures to form a stable.
When everything has dried a bit, cut around the scene to make the ornament shape. Also, use the scissors to make a small hole at towards the top of the stable.
Thread a piece of yarn through the hole and your ornament is complete!
One of my students even created his own star for the top of the stable.
My FAVORITE one was made by a boy who decided to glue baby Jesus upside down- how classic is that? Memories for years to come...

Christmas Cardboard Carolers Tutorial


When I saw these "Cardboard Carolers" in Family Fun Magazine, I knew the kiddos and I had to make them for our home!
First, we gathered up all the supplies:
Toilet paper tubes
Tempera Paint
Sponge Brushes
Old Kiddie Socks
Craft Glue
Scissors
"Fleshy Colored" Construction Paper
Yarn
Some Type of Pink or Red Crayon/Chalk
Sheet Music (We printed ours onto card stock from the Internet)

First, the kiddos painted their Toilet Paper Tubes.

While we waited for them to dry, we got to work on the other pieces of the carolers.
I cut the socks' feet off, which I used to cut mittens from. The top part of the sock we used for the carolers hats.
Time to make some faces! I used a small tea cup and traced it onto the construction paper to make the faces.
After the faces were cut out, the kiddos drew some of their own faces onto the circles (with singing mouths, of course!).
To give the carolers rosie cheeks (and noses, my kiddos decided), they used the crayon.
Since the toilet paper tubes weren't dry at this point, I let my kiddos create masterpieces with the leftover paint...They had lots of (ahem) fun...
which led to much clean up for Wonder Mom...

since she FORGOT to cover the workspace with newspaper first!
When the toilet paper tubes were FINALLY dry, we began gluing on all the pieces.
I found that in order to get some of the pieces to dry flat, we had to pin them with clothespins for a bit.
After slipping on the "hats" and tying them off with a bit of yarn, our carolers are ready to greet all our friends in our entry way, singing the tune "Holly Jolly Christmas!" (This is the clip of music I found from the Internet- my kiddos are IN LOVE with this song!)

Fun, fun, fun!

Tuesday

Fabric Wreath Ornament Tutorial

For our Christmas Neighborhood Social this evening, I was in charge of providing the craft. I have seen this little wreath craft idea on different websites, and with my sidekick Knit's help, here is our version.
First of all, gather up all your supplies:
Fabric
Scissors
Shower Curtain Rings
Twine/Ribbon
Cut your fabric into strips, about 1" wide and 6" long. With this size of strips, you will need to cut 20 to 30 strips per ornament.
Make sure your shower curtain ring is closed, and then start tying on your strips. Double knot the strips to ensure their security.
After the ring is full of strips, attach a bit of twine or ribbon and Viola! You're done with a "shabby sheek" ornament! Cheap AND easy- what could be better?

Monday

A Gnome's Christmas Tutorial

Today was the best day ever! The girls and I went over to Knit Wit's house (my good friend and super hero sidekick) to get ready for The Craft Crow's Ornament Exchange. The theme we had to work with this year is "Fairy Tales."
Knit Wit's husband had recently chopped up some branches and created a TON of wooden ornaments, so we decided to use them as our base.We then drew from a variety of items for inspiration, and decided to create a couple of differnt gnome ornaments.
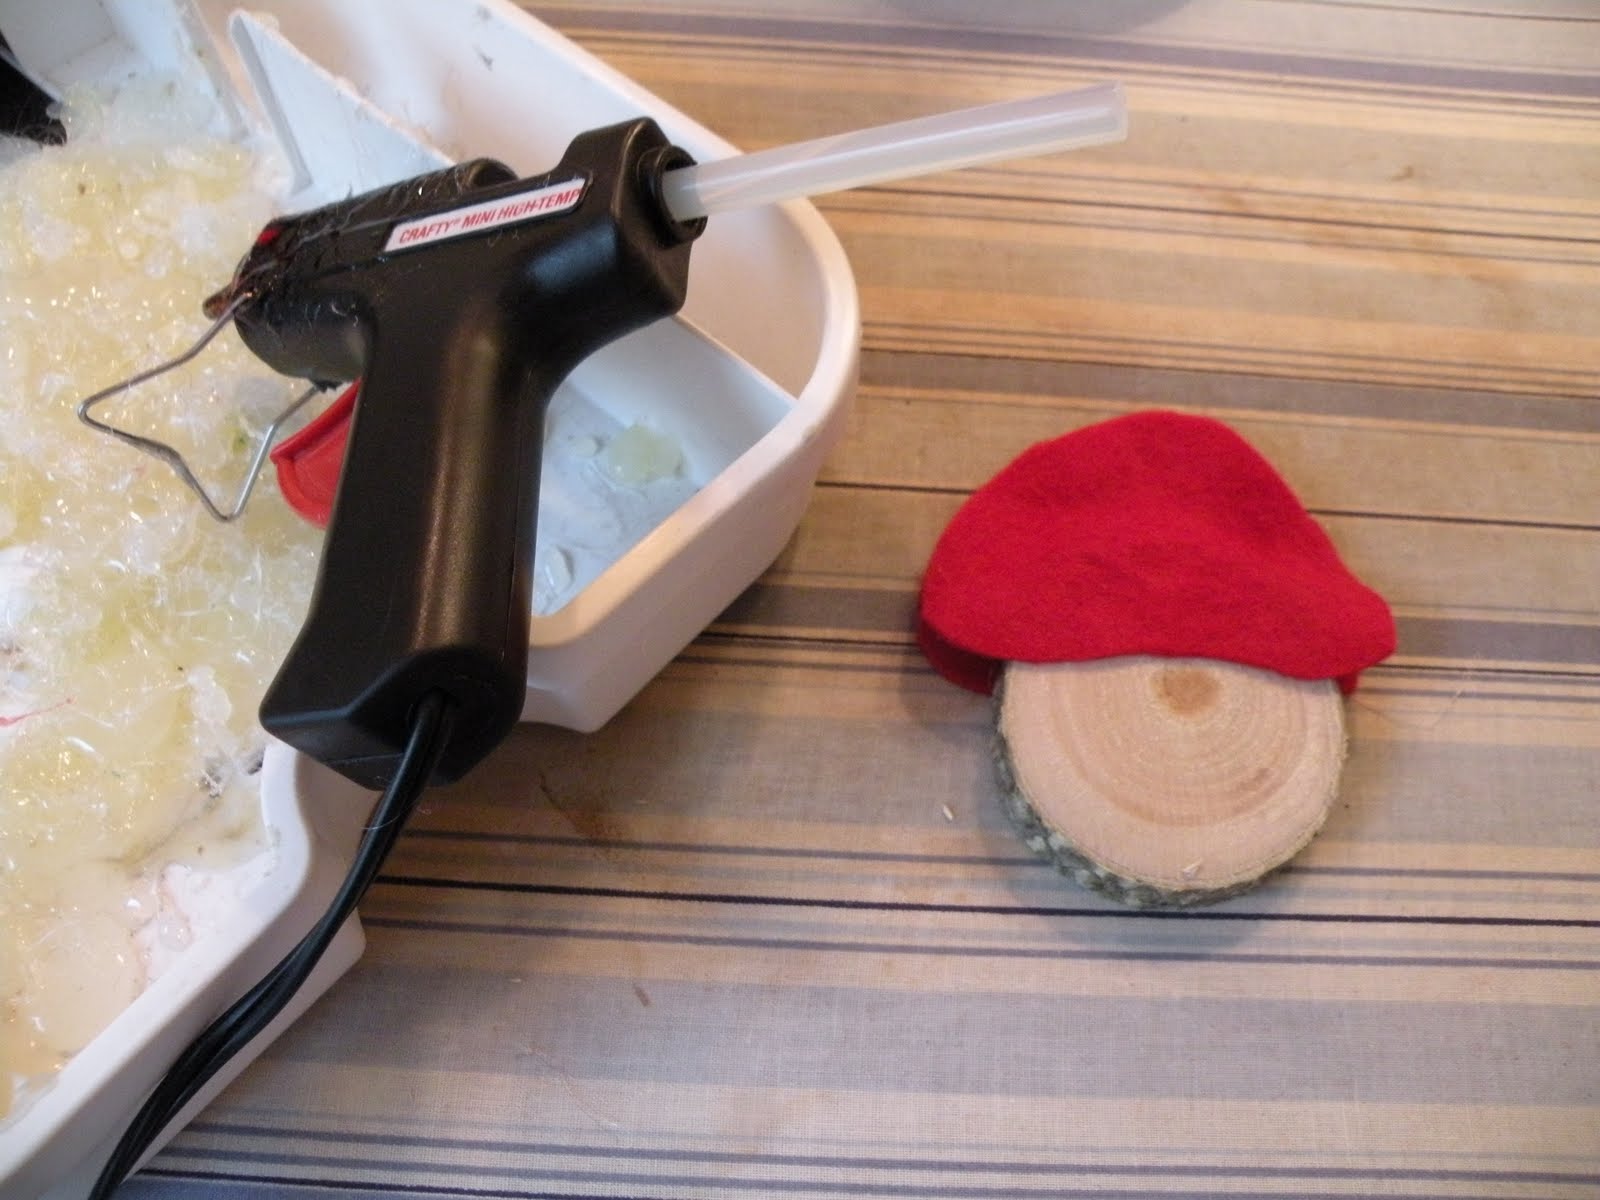
The first item we made was a gnome mushroom house. After cutting out all the felt and fabric pieces we would need for the ornaments, Knit and I created a "base" that the kiddos could glue onto later. The base consists of wooden ornament (sanded by Knit's eldest) and a red felt top.

The top has a front and a back, which I hot glued onto the top of the wooden ornament, over the previously drilled hole.
I then took an awe and poked a hole through the felt top and the previously drilled wooden hole.
Using a large needle, I threaded a piece of thin ribbon through the hole.
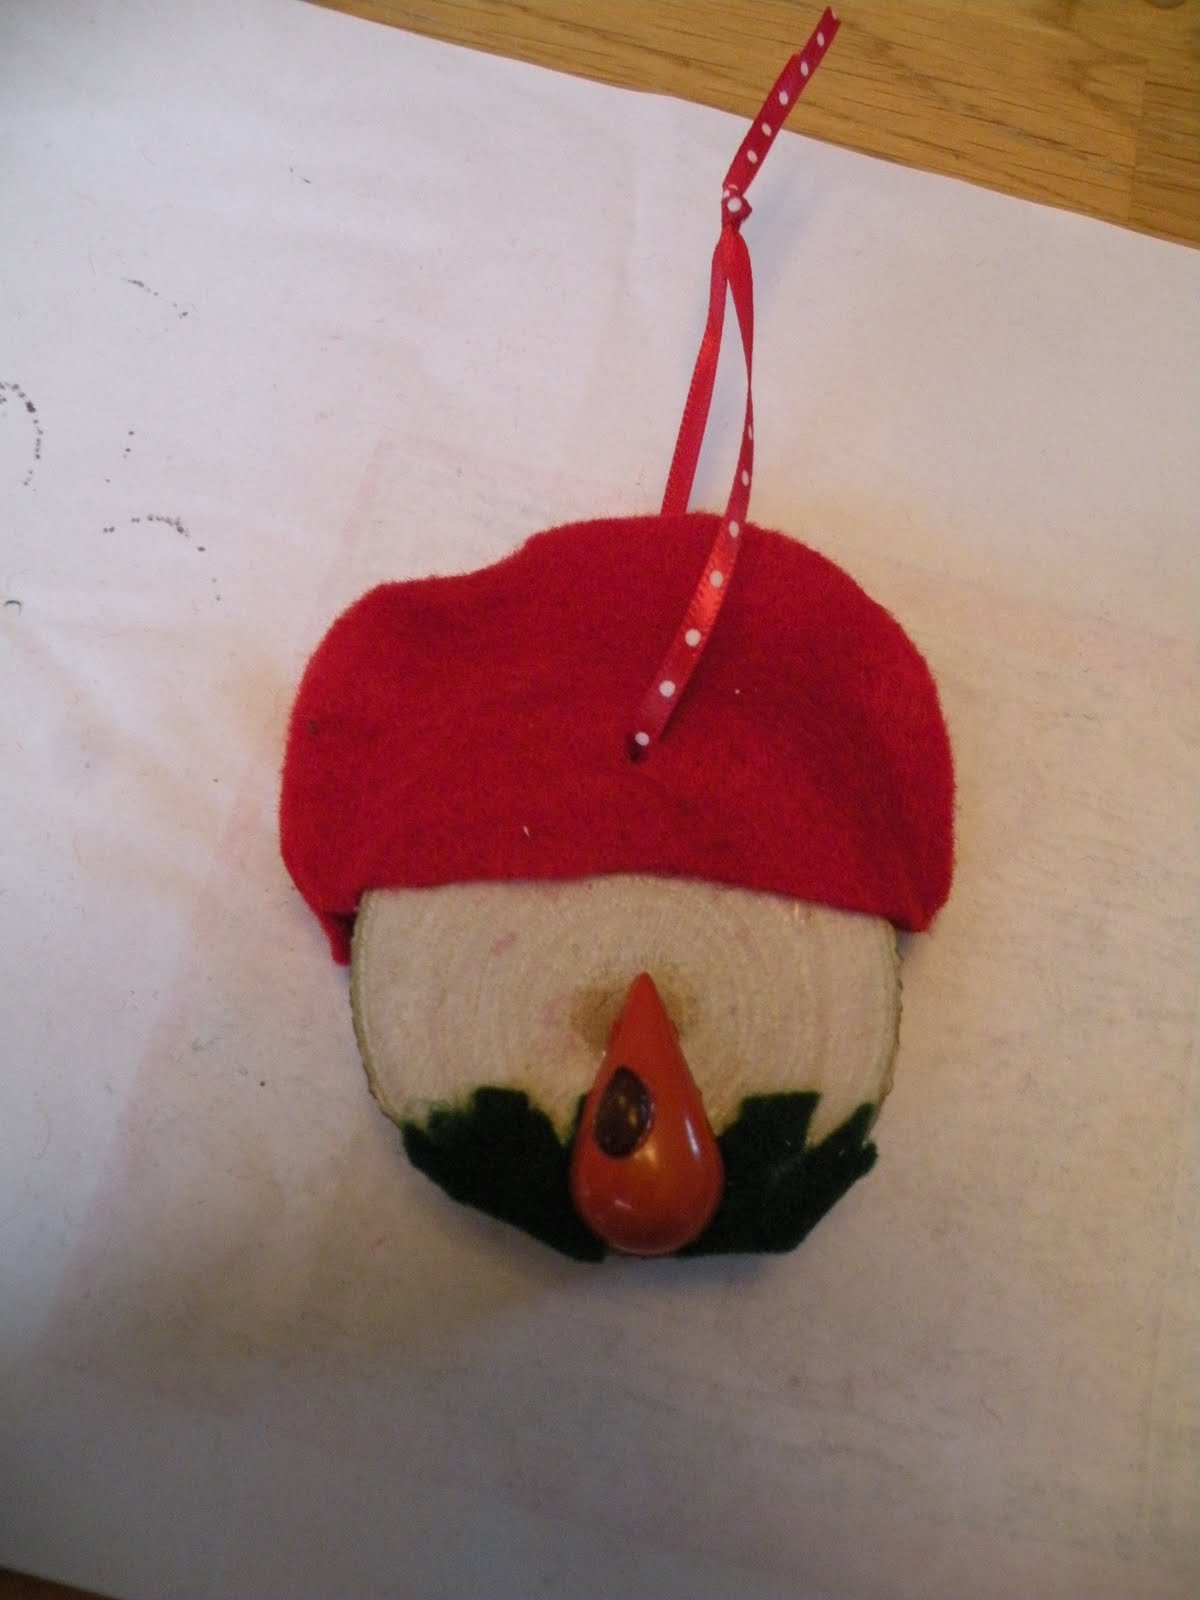
After it was tied off, the ornament now can hang from anyone's Christmas tree!
Now comes the kid friendly part! First, the kiddos glued on the felt grass (using tacky glue) on the bottom front of the ornamaent, leaving space for the door.
They also glued grass on the back bottom of the ornament.
After Knit and I trimmed off the excess grass, the kiddos glued on the door (made out old beads).
They then glued the rest of the felt and fabric pieces on the ornaments, which includes felt windows, felt/fabric gnomes, and felt spots for the mushroom tops. This is the front of the final product...
and this is the back.
For the second ornamanet, we broke out the Modge Podge! We also continued to use gnome fabric scraps.
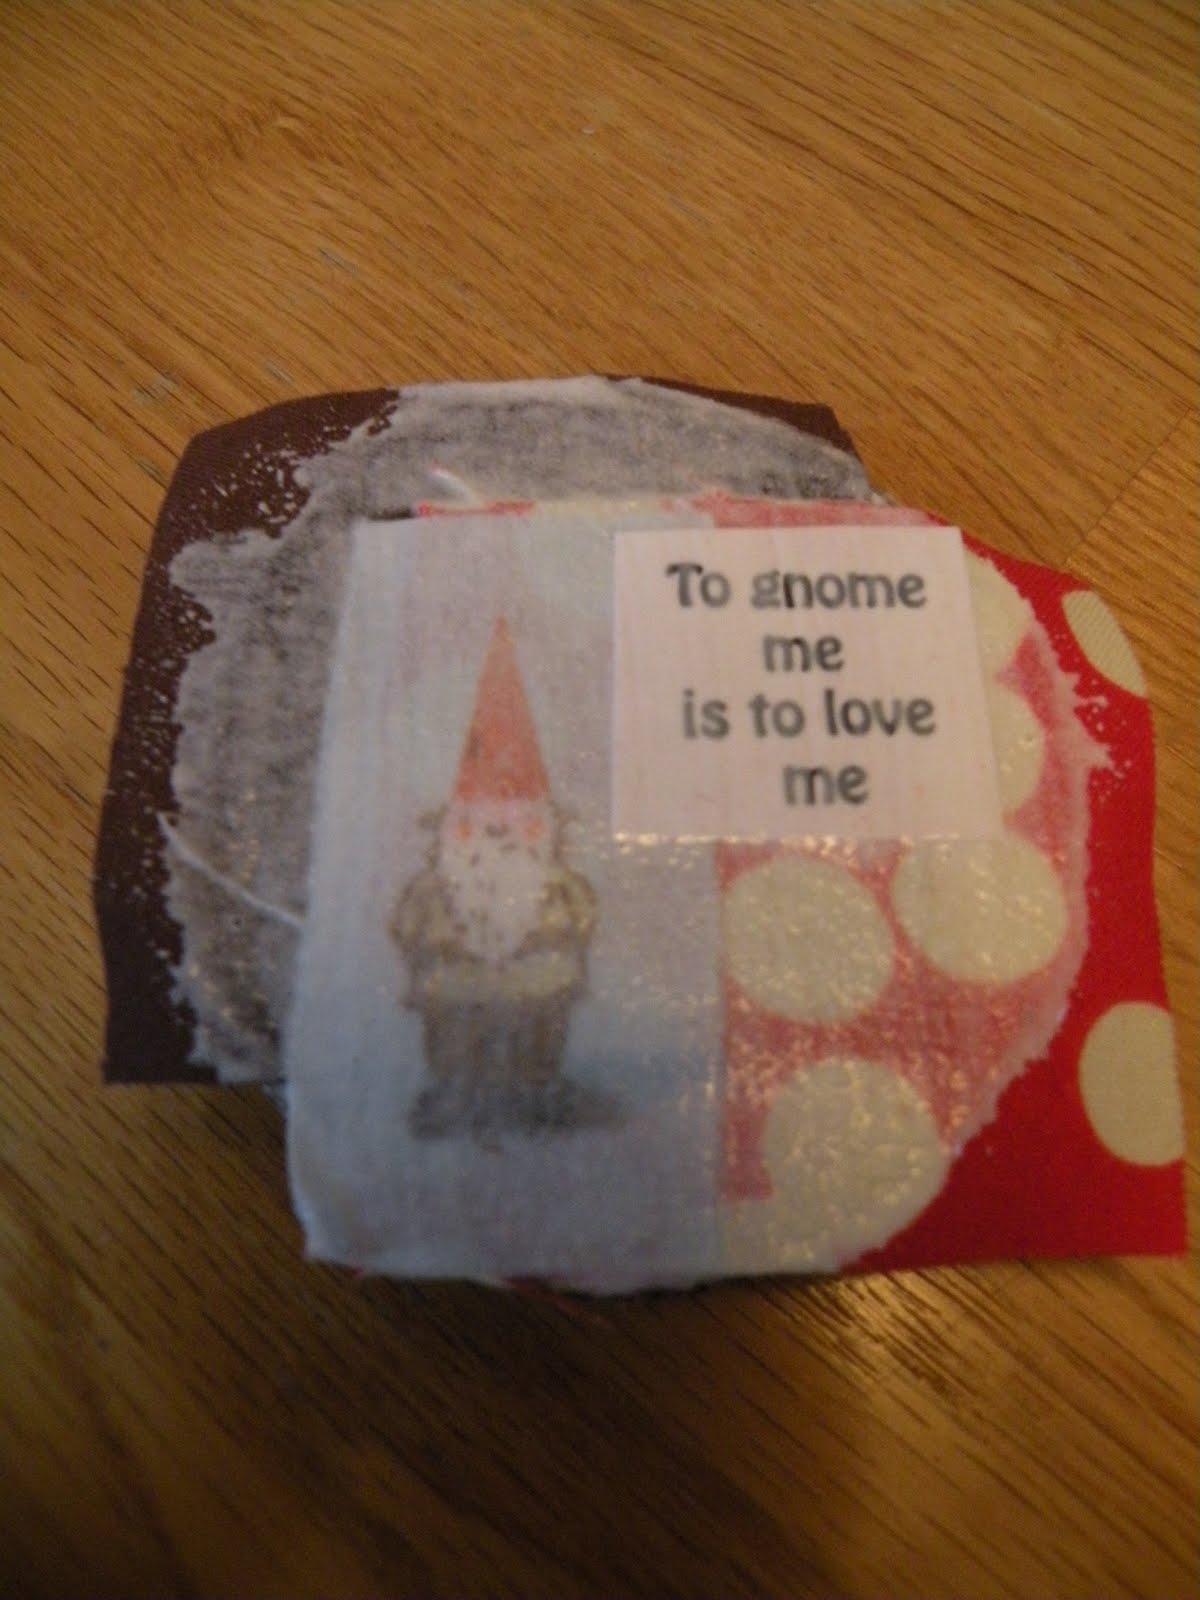
After putting down a layer of Modge Podge, the kiddos began layering the fabric onto the wood.
After all is in place, the kiddos put a final layer of Modge Podge over the finished product.
(Please note the clever saying Knit Wit came up with to paste to the ornament...)
When the ornament was decently dry, we trimmed off the excess fabric (added more Modge Podge, if they needed it). Knit used the awe and needle to add twine to make the ornaments "hang-able," while I hot glued on some fun buttons.

Viola! Another gnome bites the dust...