
Today was the best day ever! The girls and I went over to Knit Wit's house (my good friend and super hero sidekick) to get ready for The Craft Crow's Ornament Exchange. The theme we had to work with this year is "Fairy Tales."
 Knit Wit's husband had recently chopped up some branches and created a TON of wooden ornaments, so we decided to use them as our base.
 We then drew from a variety of items for inspiration, and decided to create a couple of differnt gnome ornaments.
 Knit Wit's husband had recently chopped up some branches and created a TON of wooden ornaments, so we decided to use them as our base.
 We then drew from a variety of items for inspiration, and decided to create a couple of differnt gnome ornaments.
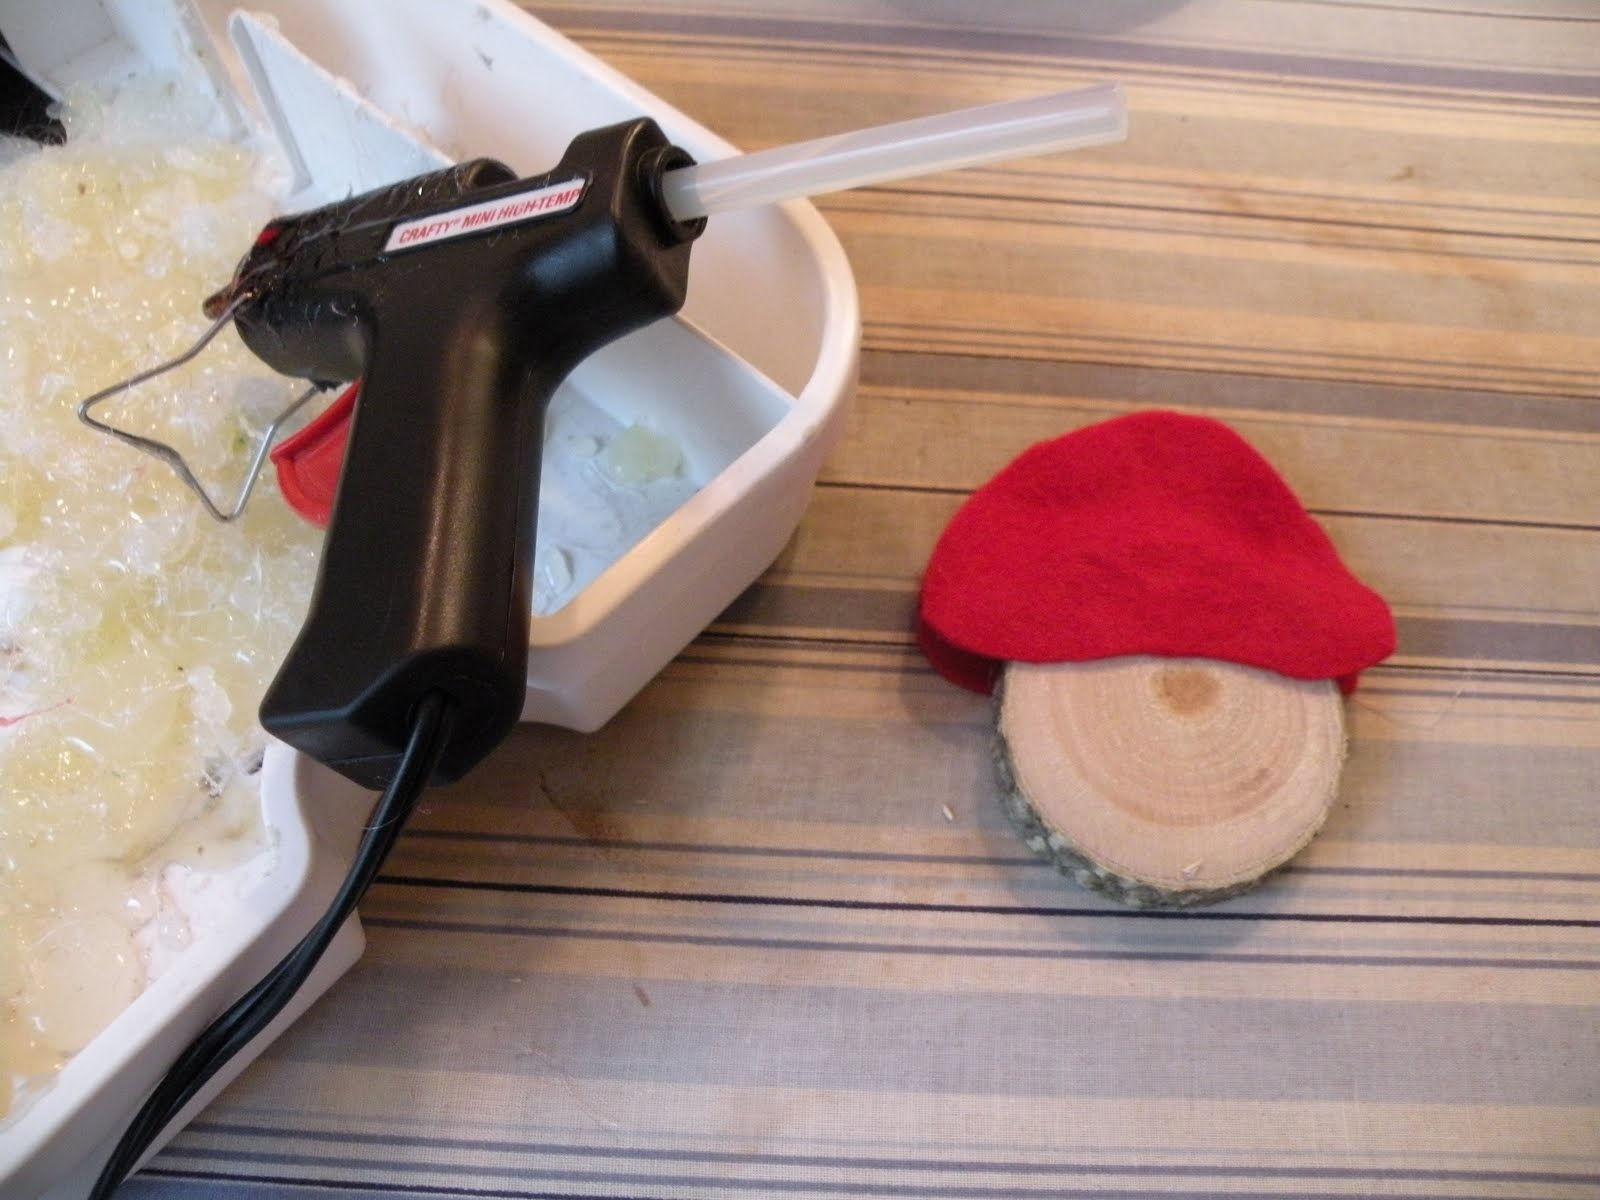 The first item we made was a gnome mushroom house. After cutting out all the felt and fabric pieces we would need for the ornaments, Knit and I created a "base" that the kiddos could glue onto later. The base consists of wooden ornament (sanded by Knit's eldest) and a red felt top.
The top has a front and a back, which I hot glued onto the top of the wooden ornament, over the previously drilled hole.
 I then took an awe and poked a hole through the felt top and the previously drilled wooden hole.
 Using a large needle, I threaded a piece of thin ribbon through the hole.
 After it was tied off, the ornament now can hang from anyone's Christmas tree!
 Now comes the kid friendly part! First, the kiddos glued on the felt grass (using tacky glue) on the bottom front of the ornamaent, leaving space for the door.
 They also glued grass on the back bottom of the ornament.
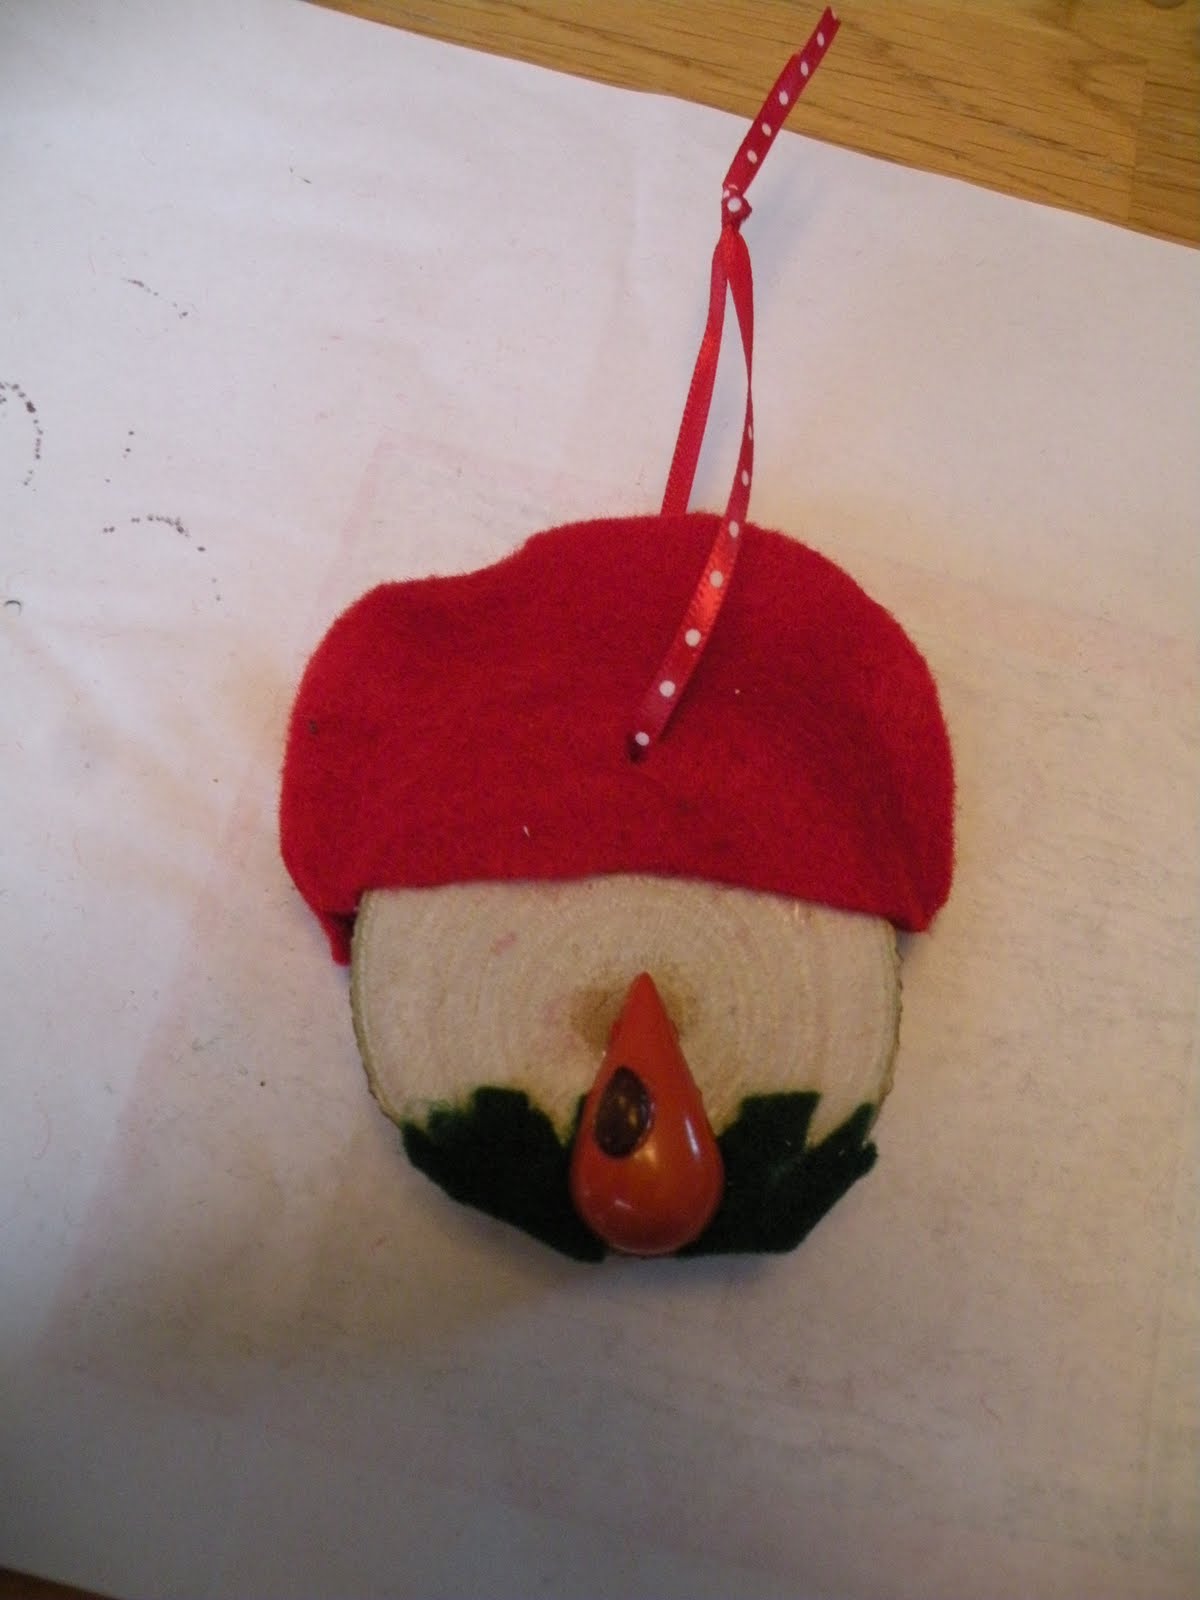 After Knit and I trimmed off the excess grass, the kiddos glued on the door (made out old beads).
 They then glued the rest of the felt and fabric pieces on the ornaments, which includes felt windows, felt/fabric gnomes, and felt spots for the mushroom tops. This is the front of the final product...
 and this is the back.
 For the second ornamanet, we broke out the Modge Podge! We also continued to use gnome fabric scraps.
 After putting down a layer of Modge Podge, the kiddos began layering the fabric onto the wood.
 After all is in place, the kiddos put a final layer of Modge Podge over the finished product.
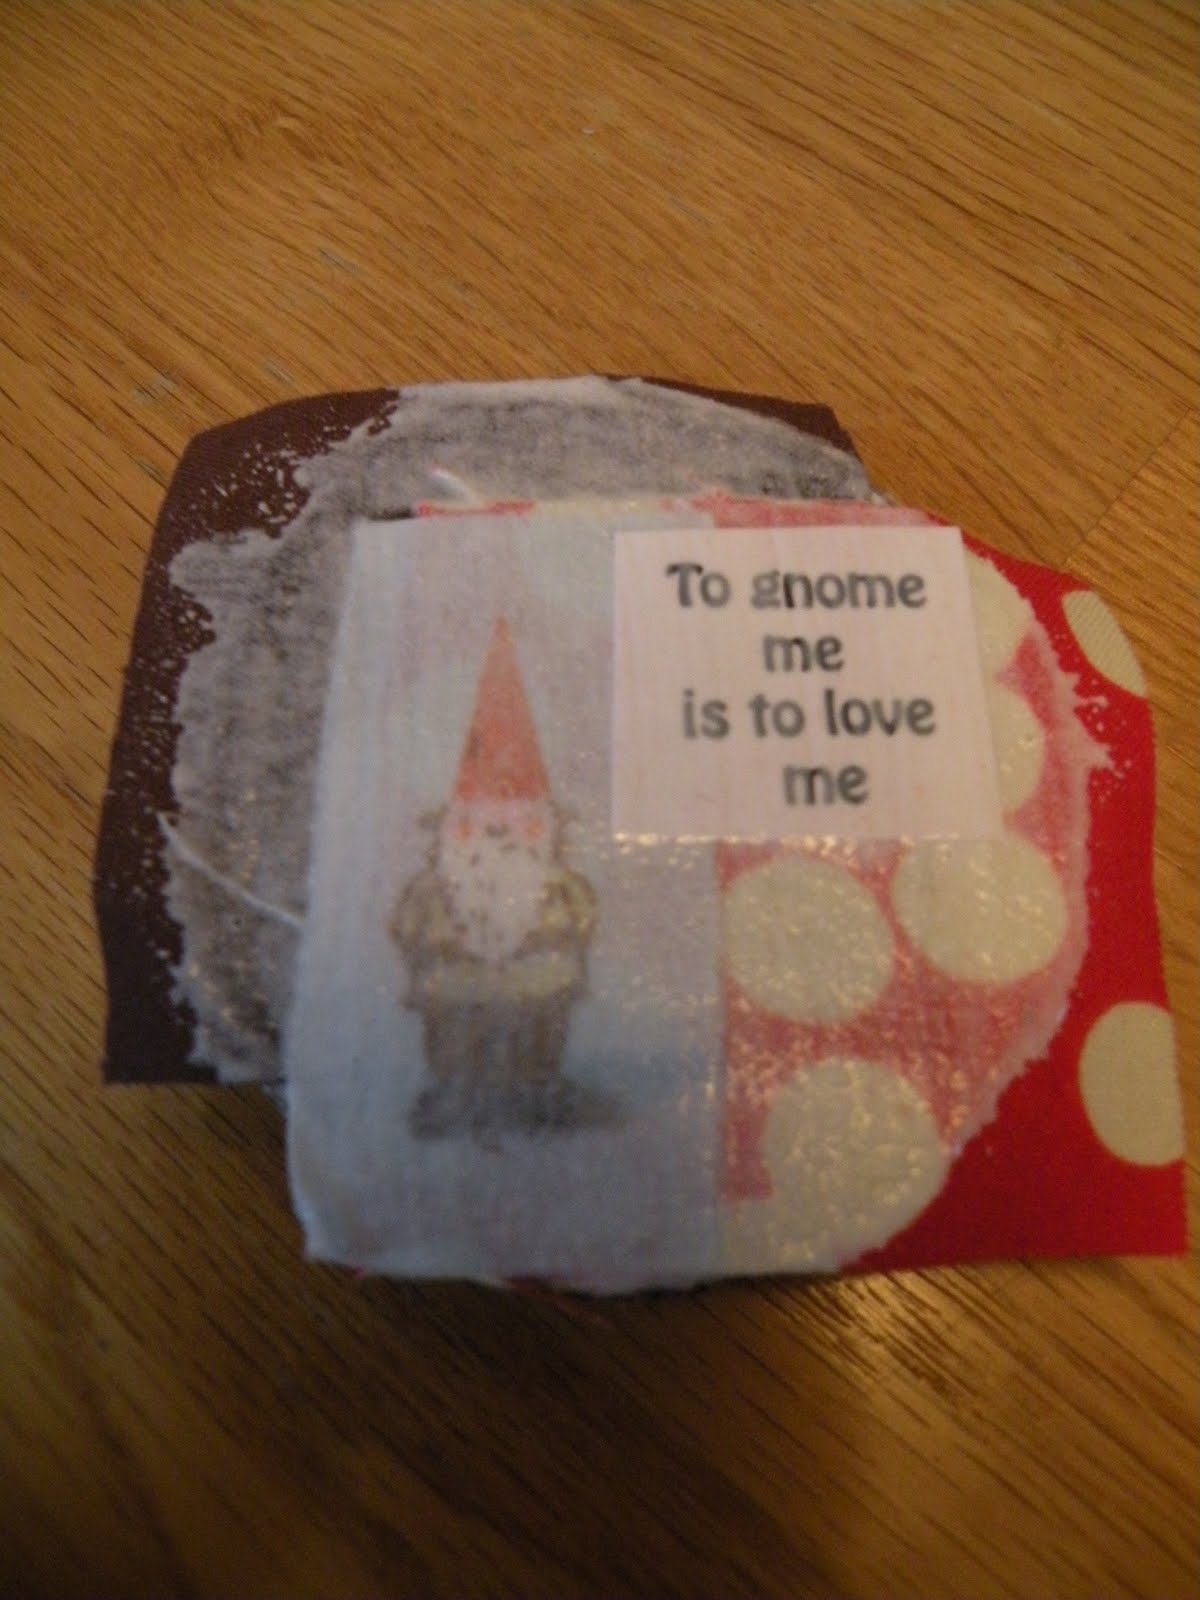 (Please note the clever saying Knit Wit came up with to paste to the ornament...)
 When the ornament was decently dry, we trimmed off the excess fabric (added more Modge Podge, if they needed it). Knit used the awe and needle to add twine to make the ornaments "hang-able," while I hot glued on some fun buttons.
Viola! Another gnome bites the dust...


adorable!! I love what you came up with for the ornament exchange! I originally wanted to do gnomes and mushrooms but couldn't think of anything - this is super creative!!
ReplyDeleteTotally hope we're on your list ;)
ooh! i hope you are sending one of those to north carolina! so fun!! :)
ReplyDeleteThanks you guys! We had so much fun making them!
ReplyDeleteGOT mine today!! they are even cuter in person!! thanks SO much!! i'm a happy gal!!
ReplyDeleteOh, I am so glad it got there in one piece! Yabba Dabba Doo!
ReplyDelete